


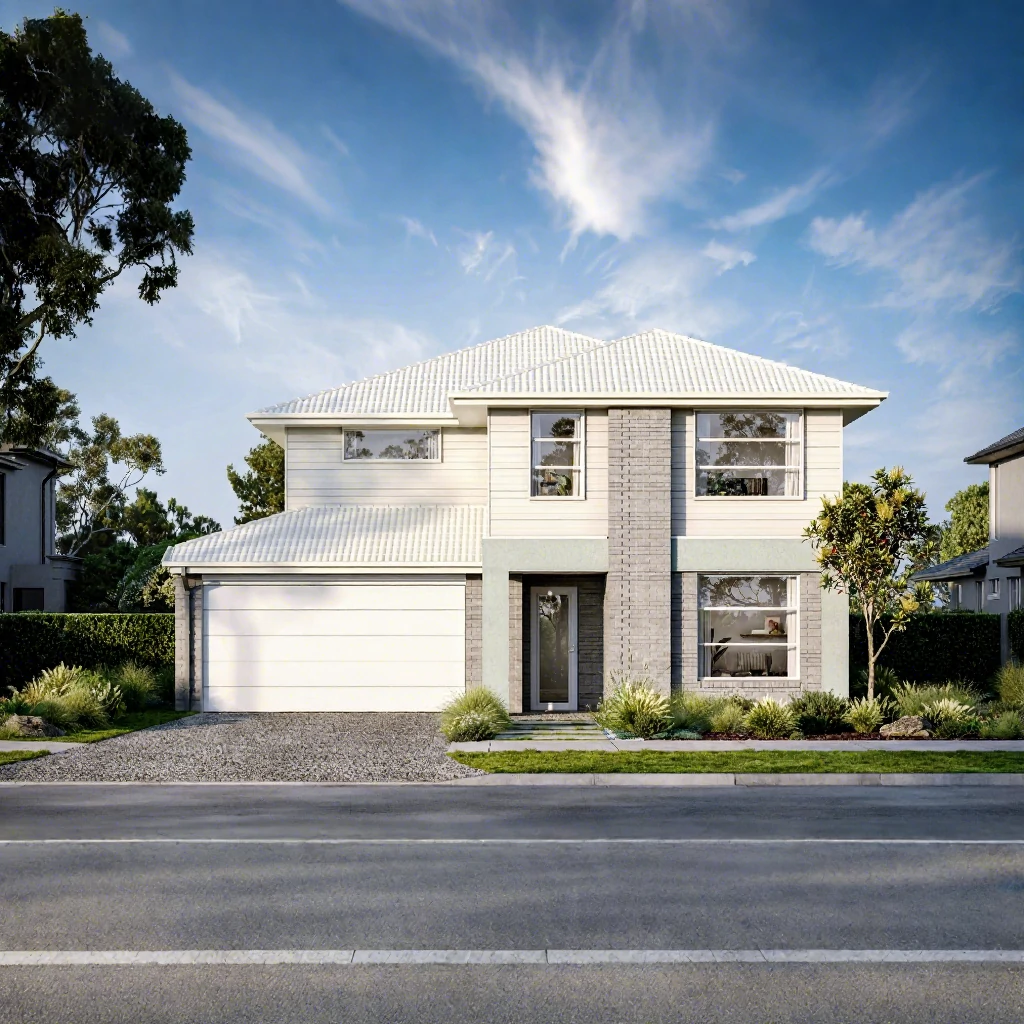
Earthquake resistant light steel residential villa adopt an integral cage frame structure made of aluminum‑zinc coated thin‑walled steel. These modern homes feature lightweight structure, excellent earthquake and wind resistance, and a long design service life of 70 to 100 years. They deliver superior thermal insulation, flexible interior layouts, and fast on‑site assembly with factory prefabricated parts. The building system generates less construction waste, shortens the entire construction cycle, and requires much lower foundation conditions than traditional buildings.
Contents
- 1 Key Advantages of Earthquake Resistant Light Steel Villas
- 2 Complete Construction Steps of Light Steel Villas
- 2.1 1. Pre‑construction Preparation
- 2.2 2. Foundation Construction
- 2.3 3. Main Light Steel Frame Installation (Core Process)
- 2.4 4. Floor and Roof Base Construction
- 2.5 5. Wall Filling and Inner Sealing
- 2.6 6. Exterior Wall System Installation
- 2.7 7. Roof Completion Works
- 2.8 8. Hydropower Pipeline Pre‑embedding
- 2.9 9. Interior Decoration
- 2.10 10. Final Finishing and Project Acceptance
Key Advantages of Earthquake Resistant Light Steel Villas
1. Outstanding Earthquake Resistance
Light steel villas use hot‑dip galvanized thin‑walled steel to form a complete reinforced cage frame system. The structure weighs significantly less than brick‑concrete buildings and reduces inertial force during earthquakes. The integrated structural integrity avoids overall building collapse. The flexible steel structure deforms safely under seismic pressure instead of collapsing, which protects occupants and suits earthquake‑prone areas perfectly. Brick‑concrete walls belong to brittle materials that easily crack and fall during earthquakes, while light steel structures flexibly absorb and dissipate seismic energy.
2. Ultra‑Fast Construction Speed
Factories prefabricate all structural components in advance, and workers complete on‑site assembly regardless of rainy weather. Professional teams finish the main steel structure within 2 to 3 months. This method eliminates time‑consuming on‑site bricklaying and concrete pouring and greatly shortens the overall construction period.
3. Light Weight Saves Foundation Cost
A light steel villa only weighs one‑third to one‑quarter of a conventional brick‑concrete house, so it requires low foundation bearing capacity. It adapts well to old homesteads, mountainous terrain, and backfilled land with poor geological conditions, effectively cutting foundation construction budgets.
4. High Thermal Insulation and Low Energy Consumption
Workers fill wall cavities with high‑performance insulation materials such as glass wool and rock wool. The integrated wall insulation keeps indoor spaces warm in winter and cool in summer. Light steel homes consume less power for air conditioning and heating than traditional houses and greatly improve living comfort. Standard insulation installation also delivers stable indoor noise reduction effects.
5. Corrosion Resistance and Long Service Life
The main framework adopts hot‑dip galvanized and aluminum‑zinc coated steel materials. The special surface treatment effectively resists rust and corrosion under normal environments. The structure achieves a design lifespan of 70 to 100 years. It completely avoids insect infestation, mildew, and rot problems that commonly trouble wooden buildings.
6. Flexible Spatial Layout
Most interior walls are non‑load‑bearing partitions, so owners can adjust house layouts freely. The flexible structure easily supports large living rooms and full‑size floor‑to‑ceiling windows. Controlled thin wall thickness increases usable floor area, offering a higher room rate than brick‑concrete houses on the same land area.
7. Eco‑Friendly and Low Construction Waste
Most building components undergo standardized factory production. The whole construction adopts dry construction technology on site, which minimizes the use of cement, sand and gravel. It greatly reduces construction dust and waste. All steel materials support full recycling and reuse, making light steel villas a sustainable green building solution.
Complete Construction Steps of Light Steel Villas
Overall Process: Pre‑construction Preparation → Foundation Construction → Main Steel Frame Installation → Wall Enclosure → Roof System Construction → Exterior Wall Works → Interior Decoration & Hydropower Installation → Final Acceptance
1. Pre‑construction Preparation
-
Survey the construction site to confirm ground elevation and geological conditions
-
Produce complete construction drawings, including structural design, house layout, water supply and electrical layout blueprints
-
Factory process and number all aluminum‑zinc coated steel frames and accessories according to drawings, then deliver all finished components to the construction site
2. Foundation Construction
Build strip foundations, independent foundations or raft foundations according to actual geological conditions. The working procedures include foundation pit excavation, steel bar binding, concrete pouring and concrete curing. Workers pre‑embed anchor bolts to fix the main light steel frame. Thanks to its ultra‑light weight, the light steel structure does not require deep foundations in most cases, while accurate anchor bolt embedding is essential for structural stability.
3. Main Light Steel Frame Installation (Core Process)
-
Fix pre‑embedded anchor bolts and install the bottom ground beam
-
Assemble and fasten the first‑floor wall steel keels and stand all wall frames in place
-
Install first‑floor floor trusses, which serve as the second‑floor steel support structure
-
Assemble and fix the second‑floor wall keels
-
Install integral light steel roof trusses
The whole frame adopts pure bolt connection without any welding, forming an integrated anti‑seismic cage steel structure. This core procedure determines the overall earthquake resistance of the house. Workers usually complete the entire main steel frame within 7 to 15 days.
4. Floor and Roof Base Construction
-
Floor construction: Lay standard OSB structural boards on steel trusses to form a solid floor base
-
Roof construction: Cover roof steel trusses with OSB structural boards and lay professional waterproof and vapor barrier layers
5. Wall Filling and Inner Sealing
Fully fill all wall keel cavities with rock wool or glass wool insulation and soundproof materials to guarantee complete thermal insulation and noise reduction performance. Lay vapor barrier membranes on the inner wall surface and seal the walls with OSB boards or gypsum boards.
6. Exterior Wall System Installation
-
Lay waterproof and breathable membranes on exterior walls to prevent moisture and vapor penetration (critical for long‑term structural protection)
-
Install exterior wall cladding including cement fiber boards, metal carved panels and real stone paint base layers
-
Reserve door and window openings and install thermal break aluminum alloy or plastic steel doors and windows
7. Roof Completion Works
Lay waterproof coils and thermal insulation layers on the roof, then install qualified roof tiles such as asphalt shingles, metal tiles and glazed tiles. Complete the installation of gutters and drainage systems to ensure smooth roof water discharge.
8. Hydropower Pipeline Pre‑embedding
Construction teams cannot cut or damage steel keels randomly. Arrange all water and electric pipelines inside steel keel cavities. Pre‑embed all pipelines in advance and avoid slotting or cutting steel structures in later stages to protect building safety and structural integrity.
9. Interior Decoration
-
Apply putty polishing, wall painting or integrated wall panel installation for interior walls
-
Complete floor treatment and lay floor tiles or wooden floors
-
Carry out tile pasting, waterproof construction and sanitary ware installation for kitchens and bathrooms
-
Install all switches, lamps and electrical accessories
10. Final Finishing and Project Acceptance
Complete exterior wall edge trimming and sealant treatment. Inspect and fasten all building bolts, test the drainage system, and confirm the integrity of all moisture‑proof layers. Conduct overall inspection and final project acceptance to ensure full compliance with construction standards.